Moving out of a rental home in Ham Lake is a whirlwind of activity. Between packing boxes, coordinating with movers, and setting up utilities at your new place, the final cleaning can feel like a monumental, last-minute burden. You know it needs to be done to secure your security deposit, but where do you even begin? The pressure is real. A simple oversight—like a greasy stovetop or a dusty ceiling fan—can mean the difference between a full deposit return and a frustrating deduction.
The goal is to return the property to the same level of cleanliness it was in when you first moved in. This isn’t about a quick tidy-up; it’s a deep, systematic process. Landlords and property managers in Ham Lake have a keen eye for detail, especially given the competitive rental market. They will check everything, from the inside of the oven to the tracks on the sliding glass door. But one area consistently causes renters to lose a significant portion of their deposit: the carpets.
A quick vacuum is never enough. After a year or more of living, carpets hold onto more than just visible dirt. They trap odors, allergens, and ground-in debris that a standard rental vacuum can’t touch. Making a plan for a true deep clean is essential. This comprehensive checklist will guide you through the entire process, room by room, ensuring you leave your former home spotless and your security deposit secure. Pay special attention to the final step, because professional carpet cleaning for move-out cleaning is often not just a good idea—it’s a lease requirement.
Your Room-by-Room Move-Out Cleaning Guide
Tackling the clean in a structured way is the key to efficiency and completeness. Don’t just wander from room to room. Work systematically, from the top down (ceiling to floor) and from the inside out (cabinets to the center of the room).
Kitchen: The Heart of the Home (and Grime)
The kitchen sees a lot of action, from spattered cooking oil to food crumbs. It requires meticulous attention.
- Appliances:
- Oven & Stovetop: Pull out the oven racks and soak them in the bathtub with warm, soapy water. While they soak, scrub the oven interior with a dedicated oven cleaner, paying close attention to the bottom and the door. For the stovetop, remove burner grates and drip pans to clean them thoroughly. Wipe down the hood and filter, as grease buildup is a major red flag for inspectors.
- Refrigerator: Unplug the fridge and pull it away from the wall. Vacuum the condenser coils (that dusty web of tubing on the back or bottom) to improve efficiency and show care. Wash all interior shelves and drawers, and wipe down the inside and outside surfaces. Don’t forget to sweep and mop underneath it.
- Dishwasher & Microwave: Run an empty dishwasher cycle with a cup of vinegar in the top rack to deodorize and break down residue. Wipe down the interior of the microwave and its turntable.
- Surfaces & Storage:
- Cabinets & Drawers: Empty all cabinets and drawers. Wipe down the interiors and exteriors, removing any shelf liner residue.
- Countertops & Sink: Disinfect all countertops, and pay special attention to the backsplash. Scrub the sink and faucet to a shine, ensuring there are no water spots.
- Floors: Finally, sweep and mop the floor, getting into the corners and under the cabinets.
Bathrooms: Eliminate Mold and Mildew
Bathrooms are judged on their sanitization. The goal is a sparkling, fresh-smelling space.
- Shower & Tub: Scrub all tiles and grout to remove soap scum and mildew. A paste of baking soda and vinegar can work wonders. Wash the shower walls, door, or curtain. Pay close attention to the drain.
- Toilet: Clean the toilet thoroughly, both inside and out. Don’t forget the base, the tank, and the area where the toilet meets the floor—a common spot for dirt and dust to accumulate.
- Sink & Vanity: Clean the sink, faucet, and mirror until they are streak-free. Wipe out the vanity cabinet and medicine cabinet, removing all personal items.
- Floors & Vents: Sweep and mop the floor. Wipe down the vent fan cover, as dust here can be a fire hazard and is often checked.
Living Areas & Bedrooms: The Final Touches
These rooms may seem easier, but details matter.
- Dusting: Dust all surfaces from the top down. This includes ceiling fans, light fixtures, window sills, baseboards, and door frames. A microfiber cloth works best to trap dust instead of just moving it around.
- Windows: Wash the interior windows and ledges. Don’t forget the tracks, which can collect an astonishing amount of dirt and dead insects.
- Walls & Closets: Spot-clean any scuff marks on the walls with a mild detergent. A magic eraser can be effective, but test it in an inconspicuous area first. Empty the closets, remove any shelf paper, and wipe down the shelves and rods.
- Light Switches & Outlets: Wipe down all light switches, outlet covers, and door handles with a disinfecting cloth.
The Critical Step Most Renters Miss: Don’t Forget Your Carpets!
You’ve deep-cleaned every other surface. The kitchen is shining, the bathroom is sanitized, and the windows are clear. You run your vacuum over the carpet, and it looks fine, right? This is where many well-intentioned renters make a costly mistake.
Property managers don’t just look for stains. They kneel down and feel the carpet fibers. They are checking for ground-in dirt, pet dander, and lingering odors that you may have become nose-blind to. A rental vacuum simply doesn’t have the power or the technology to remove the deep-seated soil that accumulates over a tenancy. This is not just about dirt you can see; it’s about the allergens, bacteria, and grit you can’t.
Why a Professional Clean is Non-Negotiable
- It’s Often in Your Lease: Many standard Minnesota rental agreements explicitly state that the tenant is responsible for professional carpet cleaning upon move-out, with a receipt required as proof. Failing to provide this can lead to an automatic deduction, often at a premium rate charged by the landlord’s preferred vendor.
- It Protects Your Deposit: A professional cleaning removes the very evidence a landlord would use to justify a deduction. By presenting a receipt from a reputable local company, you demonstrate that you have fulfilled your obligation to return the property in a clean, well-maintained condition.
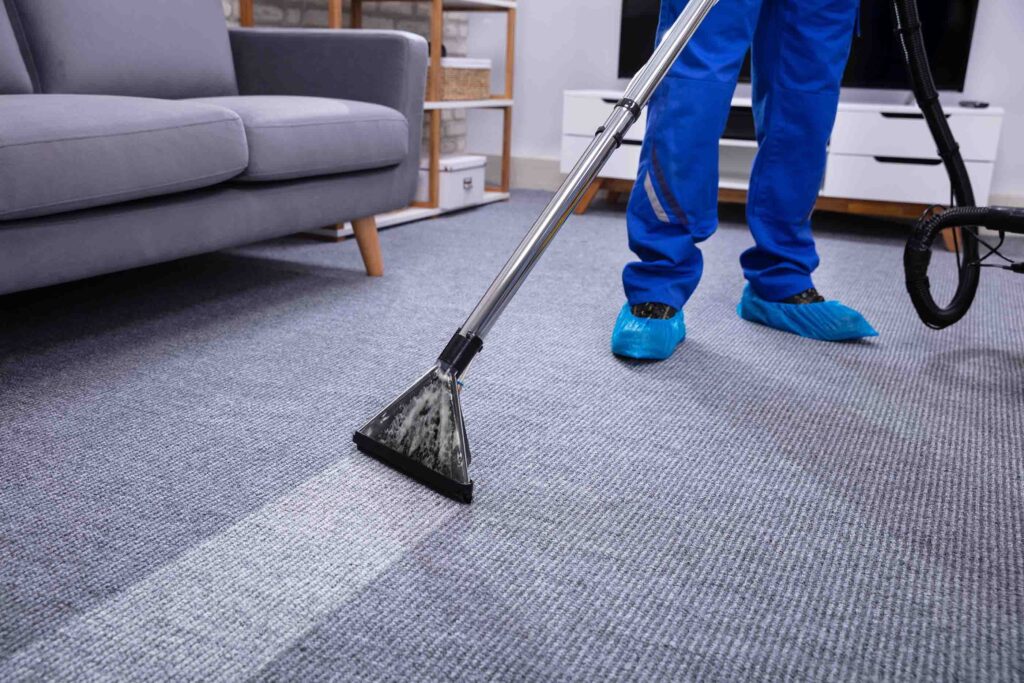
- It Addresses the Unseen: Professional cleaners use powerful truck-mounted or portable extraction units. They inject hot, cleaning solution deep into the carpet pile and then immediately suction it back out, along with the dissolved dirt, allergens, and odors. This process, known as hot water extraction, is the only way to truly reset the carpet’s cleanliness to a “like-new” state.
Trying to rent a carpet cleaner from a grocery store is a poor substitute. These machines lack the powerful suction of professional equipment and often leave behind too much moisture, which can lead to mold and mildew problems under the padding—creating a much bigger issue and liability for you.
Securing Your Deposit and Your Peace of Mind
A move-out clean is your final responsibility as a tenant, but it’s also your last chance to make a good impression. A meticulously clean property shows respect for the property and the landlord, which can be invaluable if you need a positive rental reference for your next home in Ham Lake or beyond.
By following this detailed checklist, you transform a stressful, overwhelming task into a manageable, step-by-step process. You ensure that every nook and cranny is addressed, leaving no room for dispute. The investment in a professional carpet cleaning for move-out cleaning Ham Lake MN service is not an extra expense; it is a strategic investment in the successful return of your security deposit. It provides the definitive proof you need to close this chapter with confidence, knowing you left your Ham Lake rental home in impeccable condition.


